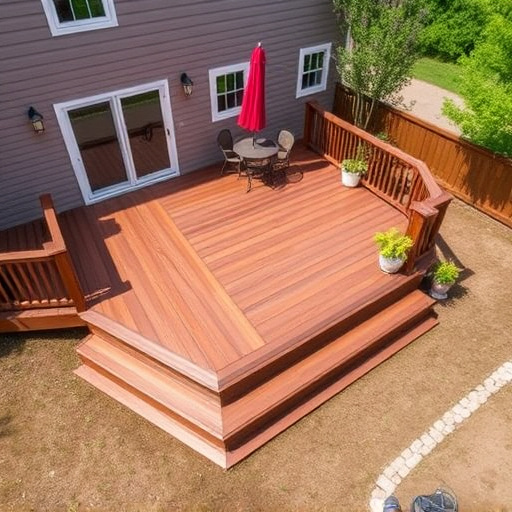


Before installing waterproof decking, thoroughly clean and inspect the existing deck surface. Repair or replace any damaged boards, fill gaps, level the deck, and address drainage issues. Proper preparation enhances aesthetics and ensures the longevity of your waterproof decking installation.
Looking to transform your outdoor space? This comprehensive guide will walk you through installing a durable, waterproof deck. From assessing your existing deck’s condition to choosing the right materials and executing the installation perfectly, we’ve got you covered. Discover the benefits of various waterproof decking options and gain step-by-step instructions for a successful DIY project that will enhance your outdoor living.
- Preparing Your Deck Surface
- – Assessing the existing deck condition
- – Cleaning and preparing the surface
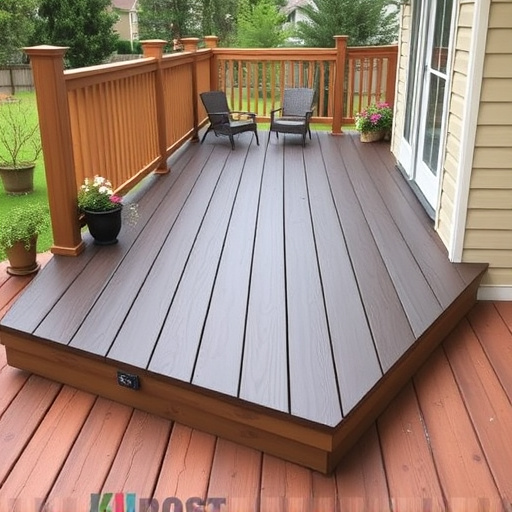
Preparing Your Deck Surface
Before installing waterproof decking, it’s crucial to prepare your deck surface for a seamless and durable finish. Start by thoroughly cleaning the existing deck to remove any dirt, debris, or organic matter that could compromise the adhesion of the new material. Use a pressure washer or a stiff-bristled brush and deck cleaner designed for this purpose. This step ensures that your deck is free from contaminants, promoting better bonding with the waterproof decking.
Once cleaned, inspect the surface for any damaged or loose boards, nails, or screws. Repair or replace these elements as needed to create a solid foundation. Fill in gaps between boards and ensure all fasteners are tight. Proper preparation includes leveling the deck if necessary, addressing any slope issues, and ensuring proper drainage to prevent water accumulation beneath the decking. These exterior home improvements not only enhance your space’s aesthetics but also play a vital role in the longevity of your waterproof decking installation.
– Assessing the existing deck condition
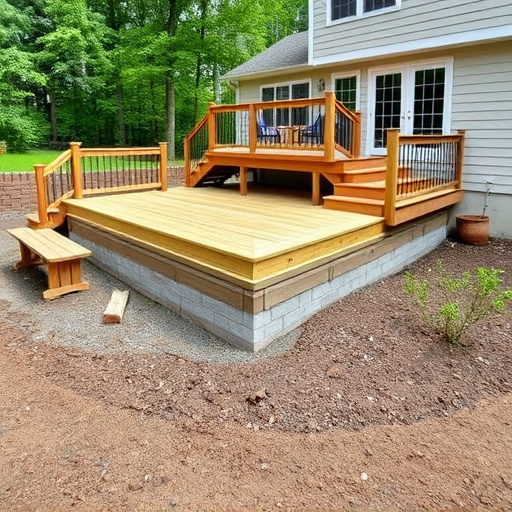
Before installing waterproof decking, it’s crucial to assess the existing deck’s condition. Start by inspecting for any signs of rot, warping, or loose boards—common issues indicating structural damage. Look for gaps between boards and check if the deck frame is secure and level. If you notice any storm damage repair needs, address those first to ensure a solid foundation for your new waterproof decking.
Consider seeking professional roof consulting services to gain insights into the deck’s viability. Home service solutions offering deck restoration or replacement can provide valuable advice tailored to your specific situation. This step is particularly important if your deck has seen better days, as it will help you make an informed decision about whether to repair, replace, or install waterproof decking entirely new.
– Cleaning and preparing the surface

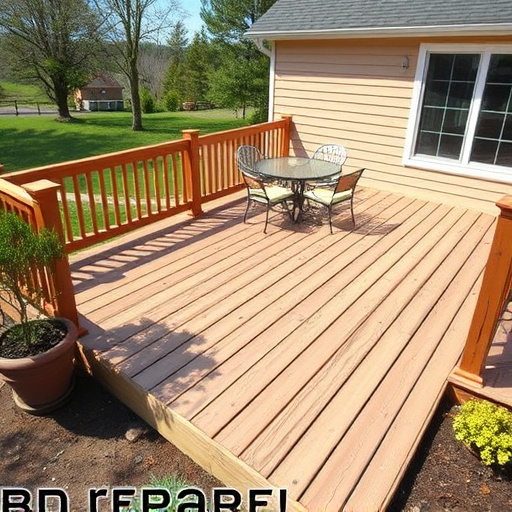
Before installing waterproof decking, proper cleaning and preparation are essential steps to ensure a durable finish. Start by removing any debris, dirt, or existing material from the surface area designated for the new decking. This includes leaves, branches, and loose boards. Use a pressure washer or a stiff-bristled brush to thoroughly clean the surface, eliminating any contaminants that could interfere with adhesion.
Once cleaned, examine the surface for any damage, such as cracked or rotten wood. Repair or replace these areas using suitable siding repairs or roofing solutions to create a smooth, even base. This preparation stage is crucial in achieving a long-lasting waterproof decking system, ensuring your home’s exterior remains protected and aesthetically pleasing.
Installing a waterproof decking system is an excellent way to protect your outdoor space. By following these steps, from assessing deck conditions to cleaning and preparation, you can ensure a durable and weather-resistant surface that adds value to your home. Remember, proper preparation is key to achieving a long-lasting result with your waterproof decking project.